BASIC USE: CREATING A MAP
| CREATING
A MAP
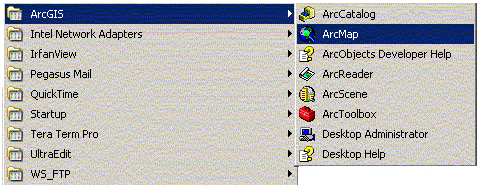
The following section deals primarily with displaying maps using ArcMap. The ArcMap application consists of a map display window for viewing spatial data, a table of contents listing layers shown in the display, and a variety of tools for working with spatial data. Similar to most current windows applications ArcMap can be modified to meet your specific needs with regard to available tools, tool bars, and other preferences. Starting ArcMap From the Start menu, go to Programs, ArcGIS, ArcMap.
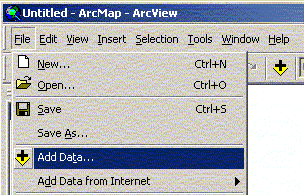
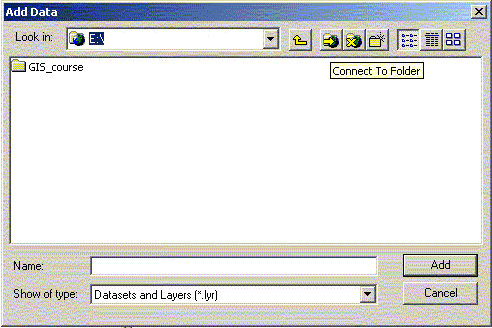
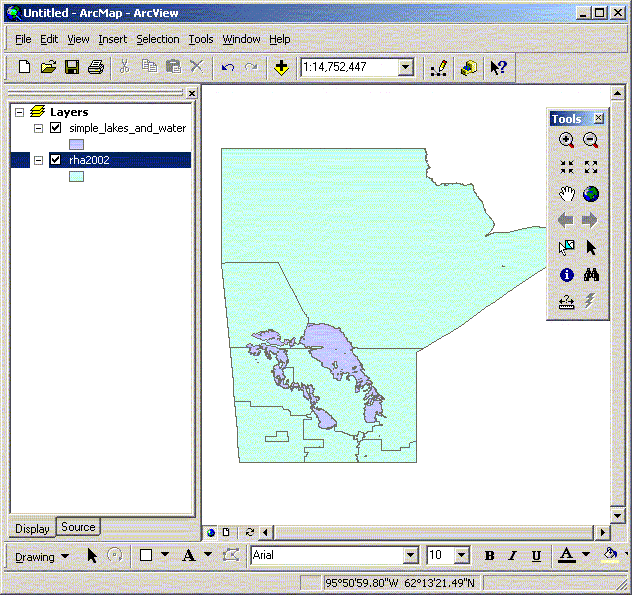
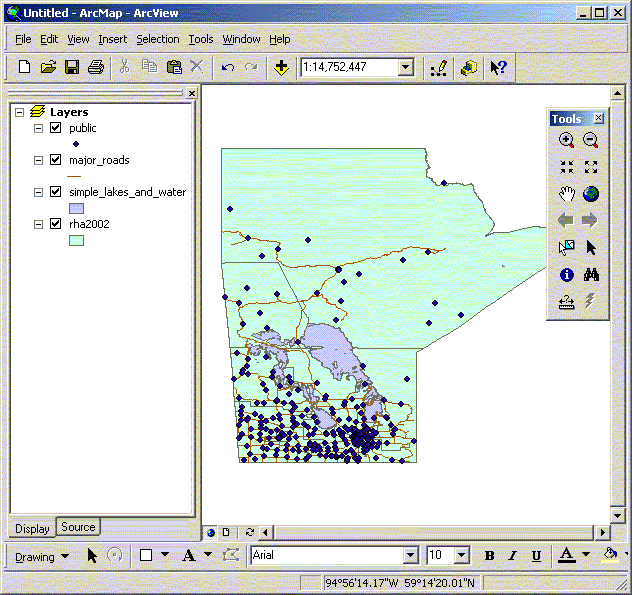
Data View & Frames In ArcMap, you begin with a map document. This is a collection of all tables, data frames, layers, and charts. When working with a map document it is important to remember that it does not contain any of the spatial or tabular data. The document is a collection of pointers to data files and instructions on how to combine or display those files as a unit. The first component of a document we will be dealing with is called a Frame. A frame is, essentially, your map or one view of the world; ArcMap can have multiple frames all placed in one layout or view. It is where you look at and manage much of your mapped data. When you open a new document in ArcMap, your view will simply be a blank page. From here, you add layers. Layers are the visual components of your map and work in layers. There are four basic kinds of layers; polygons, lines (arcs), points, grids (raster). Map files used by ArcView include ArcView Shape files (.shp), ArcInfo coverage files (E00), CAD files such as AutoCAD (.dxf), and raster or bitmap images. If you want to add a map of Manitoba to your view, you would click on the “add data” button on the toolbar or select from the File menu. Open the shape file D:\gis_course\rha\rha2002.shp. This shows you a polygon layer containing the outlines of the Manitoba RHA boundaries. The outer boundary of this theme is roughly in the shape of Manitoba. Click on “add data” again, and open D:\gis_course\simple_lakes_and_water.shp. Multiple shape files can be selected when adding views by holding down the shift/control key when selecting files. A single shape file can be added to a view multiple times to show different attributes of the same features. The left frame of your view is called the table of contents and it is used to keep track of your themes. Each layer is displayed, by default, with a legend below the layer name. Check (click on) the boxes to display the layer in your view. You should now have a view that looks something like the image below. As you add layers, they show up in the view in layers and are listed in the Table of Contents. The first layers form the bottom layers, while the most recent layers form the top layers. It is important that the layers with the largest polygons are added first, so that they form the bottom layers. This actually applies to all types of layers. To understand why, try adding simple_lakes_and_water.shp before rha2002.shp, activate them both, and see what your view looks like. You can fix this by “dragging” your rha.shp layer to below the lakes and waters layer in the table of contents. Once you have added your polygons, the next layers to add are arcs. (This is in keeping with the wisdom of adding the largest featured layers first and the smallest layers last.) Arcs are lines, commonly road systems on our maps. To add roads to your Manitoba map, click on “add data” and open D:\gis_course\rha\major_roads.shp. The smallest layers (and thus the last to be added to our view) are called points. These are usually locations of hospitals, schools, community centres, or other discrete locations. We will add public schools to our map, by clicking on “add data” and opening D:\gis_course\rha\public.shp. Your map now has four layers: first the rha boundaries (a polygon), next the lakes (a polygon), next the major roads (lines), and finally, the locations of public schools (points). If you have all of your layers turned on at once, you should have a view that looks something like the figure below.
|